

(click image to enlarge) Block is done being cut, and first print has been printed! Zuzu (on left) is happy to be held, and Dexter (on right, with tongue) is elated.
Block is done! I printed the first two prints today (you can see where the red ink was rolled off the edges), and boy do they take a long time when you’re printing with a wooden spoon!!! I’m not very good at it–patience sorely lacking….
You can see the prints below. In the 2nd photo, the first print is on the left, and though it’s probably not obvious here, it IS fainter for various reasons: It’s the first print (ink soaks up into the woodblock somewhat with that first layer of ink rolled on), I’m inexperienced with printing this way, and I used the rough side of the Masa paper (thinking the print would stick more to the block and perhaps slip less). Since I’m printing these vertically, I was worried about the paper slipping/moving while I’m rubbing/printing the block, so I used a more porous side of the paper to print on, means the ink soaks into the paper more on this side.

(click image to enlarge) Prints are left to hang for a couple of days until ink is dry to touch and print can be handled.
The 2nd one came out much darker–thick blacks and full red–as it had a thicker layer of ink rolled on, I used the smooth side of the masa (no slippage–ink is sticky enough to hold onto the paper even with this vertical setup), and I paid more attention to how I was printing/pressing/rubbing the spoon over the raised parts…. Still, I can see this takes practice, and I don’t love printing this way, but it gets the job done when the block is too big for the press (which is “only” 30in x 40in–plenty big for most jobs).
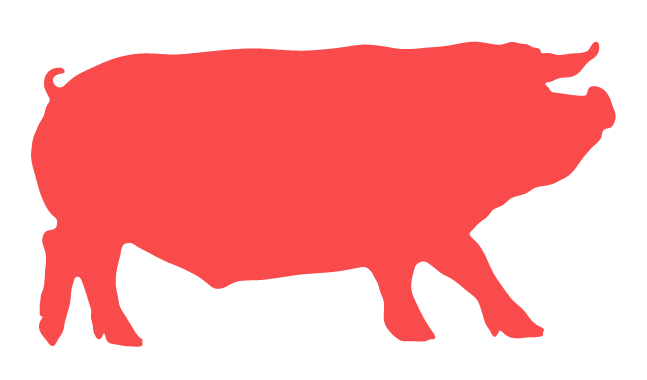
You can see the first stages of working on this block at: Cutting up meat.
More to come when prints get cut out and applied to forms….


Trackbacks/Pingbacks