
 Next: Carving!
After gathering all the images and ideas (see Part 1 for this rather agonizing process), you’ve got to get the whole thing onto a flat, 2-D surface in some sort of order that is understandable, so that you can start carving without a lot of guesswork. Thinking where you have to cut slows the carving waaaaaay down.
It begins with a good design. Design is everything. Often this is a relatively small sketch called a thumbnail (small, like a thumbnail, get it?). Original was about 1-1/2in, which was fleshed out into a slightly more detailed sketch at 8in (bigger than usual, since the final product would be a 5ft block containing a lot of detail):
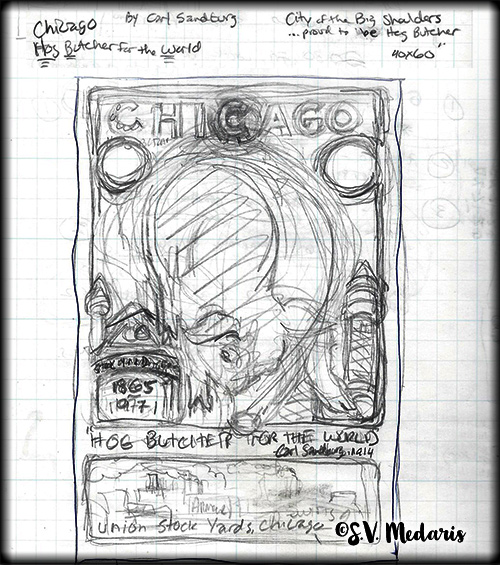
8in high sketch shows the design, including flow/movement, and basic, roughed-out layout. This 1st step is crucial. Without a good, solid design you’d have a mishmash of information/ideas and a much less successful final block and print. Good design has hierarchy, interest, drama, flow, movement….well, it’s really everything.
Tighten up design, flip, and a printout
From here, I mocked up something more detailed in Photoshop with my hog reference photos, text laid out, old black/white photos, etc. Also I then flipped the image to be “wrong-reading” as when you carve a relief block, the text has to be backwards, so that when you print it, the text will be “right reading.” Next, I printed the image out at 6 inches tall, then projected it onto the 40in x 60in woodblock. This is Baltic Birch plywood that I use for woodcuts (purchased from local lumber supply place). Baltic Birch is slightly better quality than regular Birch plywood—it has less voids. Then, you trace the basic lines (not all the detail, since it’s not very sharp), with a Sharpie on the wood. After that, with references in hand, draw in all of the details, again using the Sharpie:
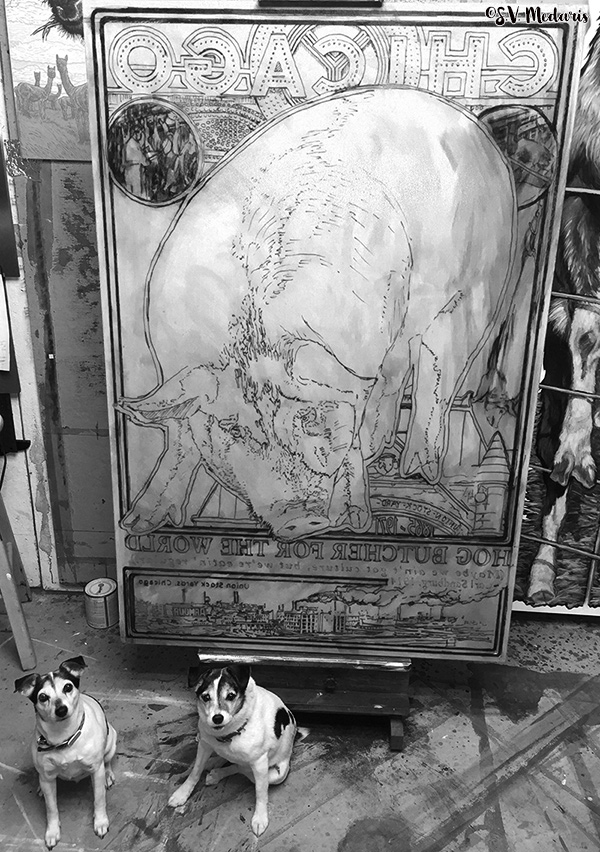
Sharpie drawn on the wood block gives the details needed to start carving.
Tint it! Coat it!
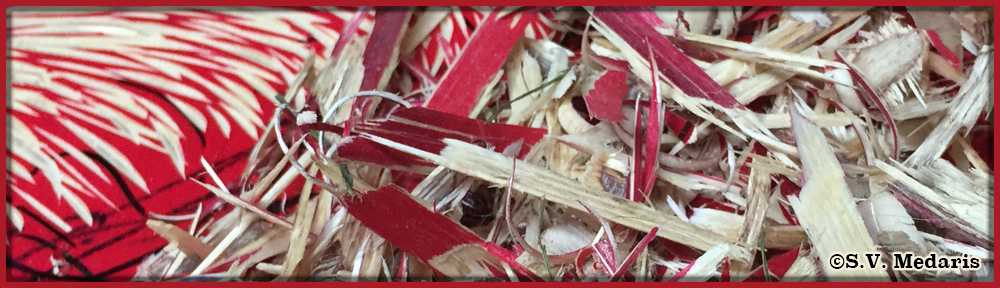
When the drawing is finished, you coat the whole block with some color so that when you start cutting, you can see where you’ve cut (if you don’t, it’s very difficult to clearly see where you cut, since it would be the same color–wood color at top surface, and wood color wherever you’ve made a cut). You will see what I mean farther down this post:
Final step before carving is to cover the drawing/red with a thin coat of shellac (or polyurethane—many block printers coat their blocks with this instead). It provides a protective coating so that the drawing won’t be damaged (especially important if you used something like black pencil to draw with instead of Sharpie, which I’ve also done in past). Also, the shellac provides a harder surface than the uncoated baltic birch, so you get a really sharp cut to each gouge that you make. It’ll hold detail a little better. Shellac also just protects that surface for when you print—making it harder to dent.
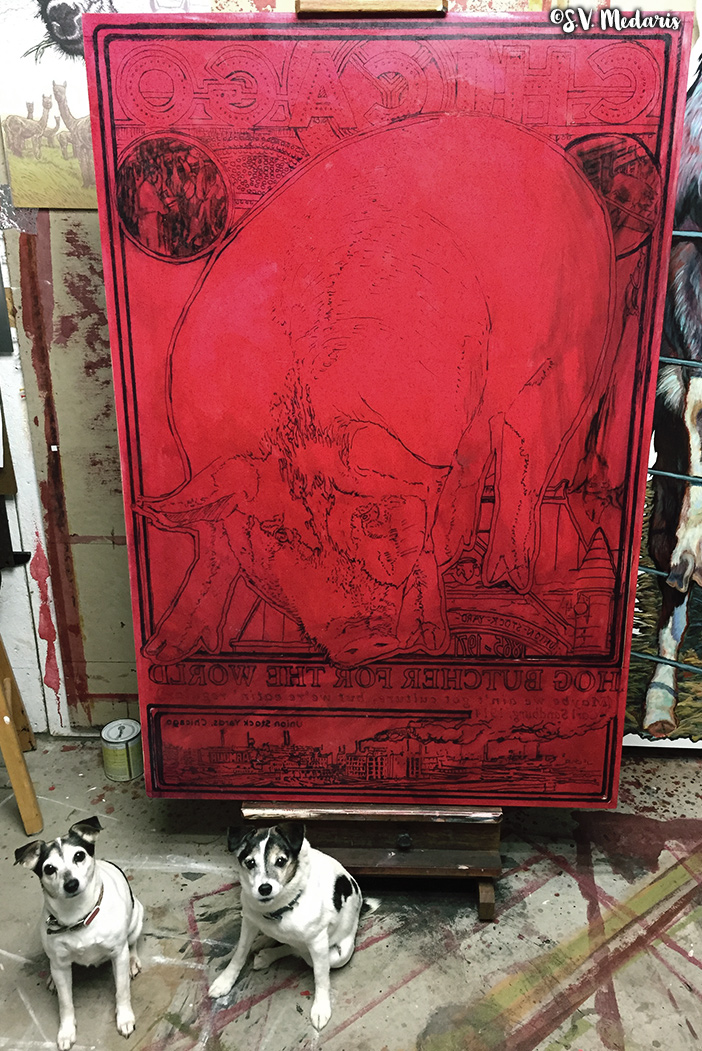
The red coating (thin acrylic rubbed into wood, over the Sharpie), will enable me to see where I’ve cut, once I start cutting into the wood block. The block is also coated with Shellac at this point, as the last layer needed before carving begins.
Now carve!
This is what a wood block carver’s ‘white space’ looks like.
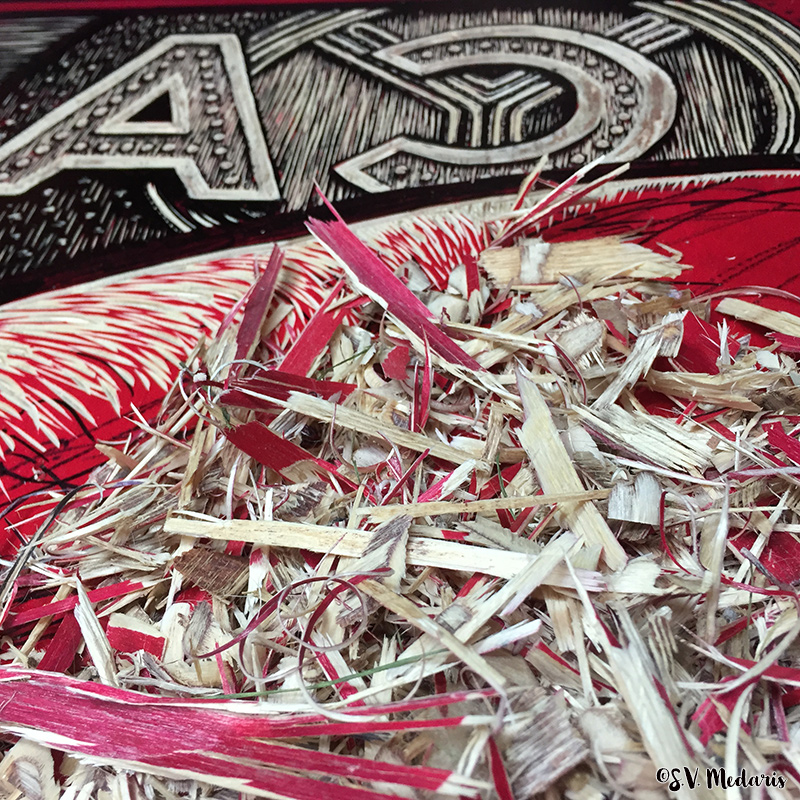
And the first cutting session:
After Day 1 or 2, the carving is under way. If the block hadn’t been coated with red, it would be very difficult to see where the cuts are…making it really difficult to see how good your cutting is.
And a close-up so you can see the amount of detail going into this:
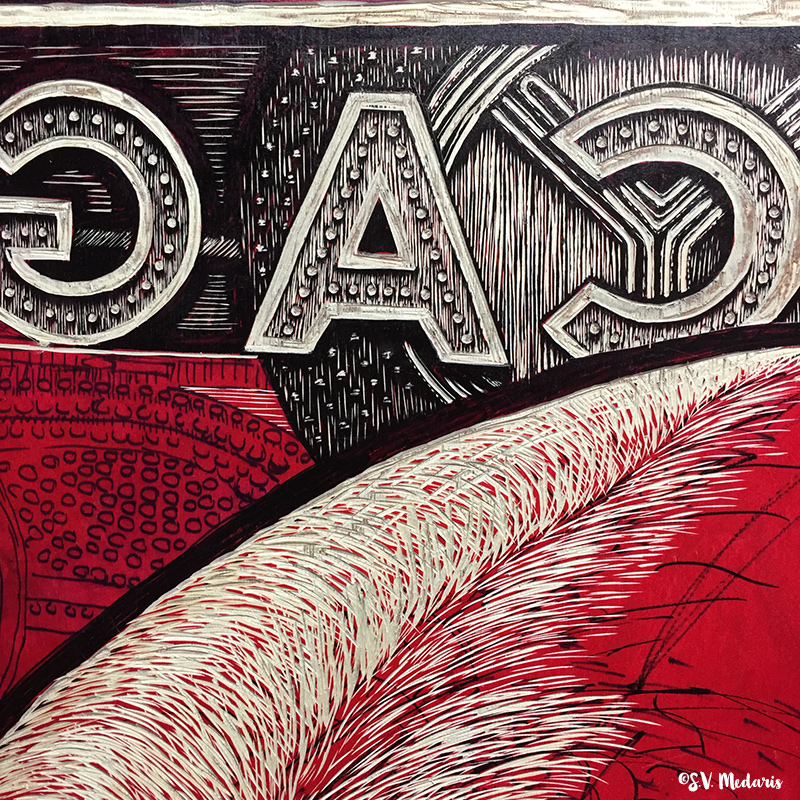
Detail of old Chicago Theater sign
After the 4rth day of cutting:
Day 4.
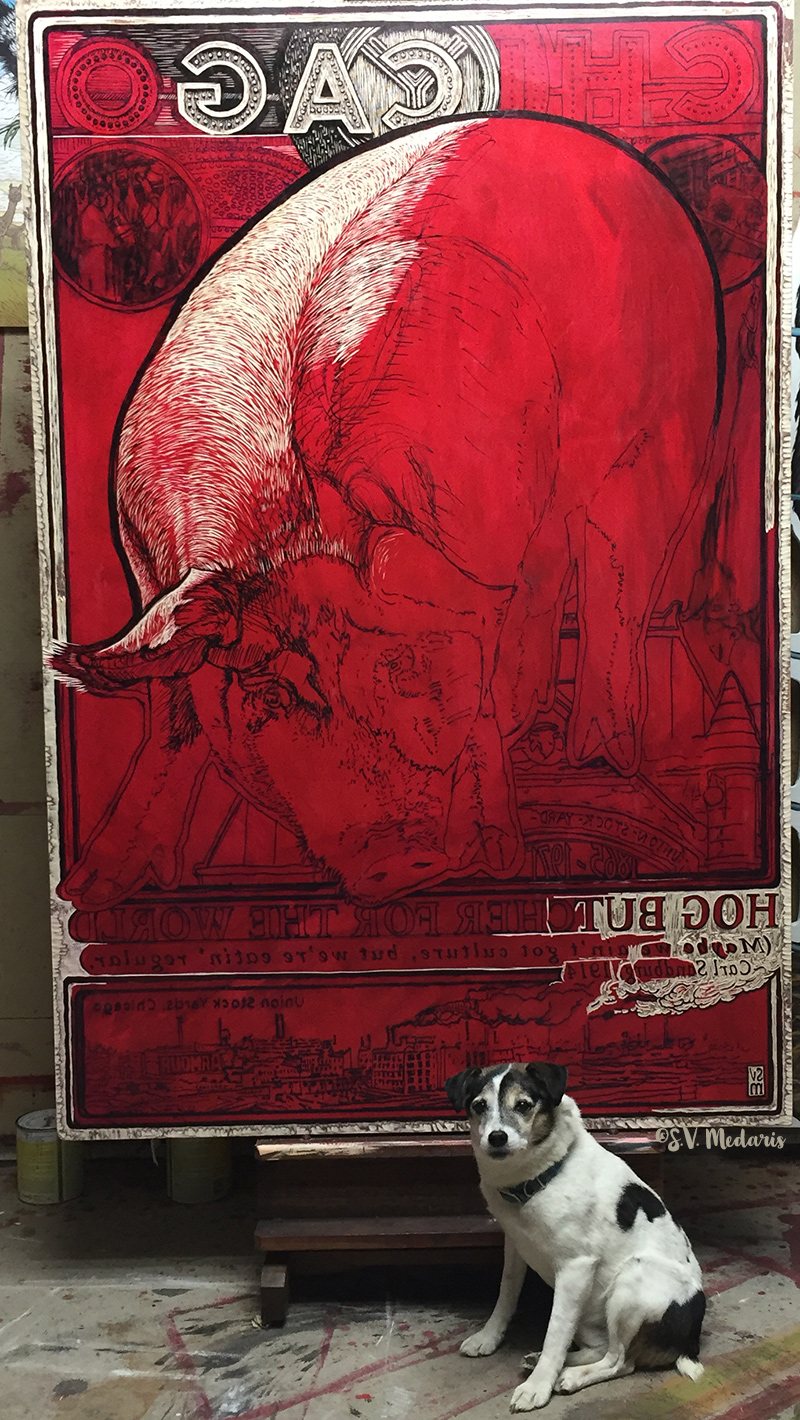
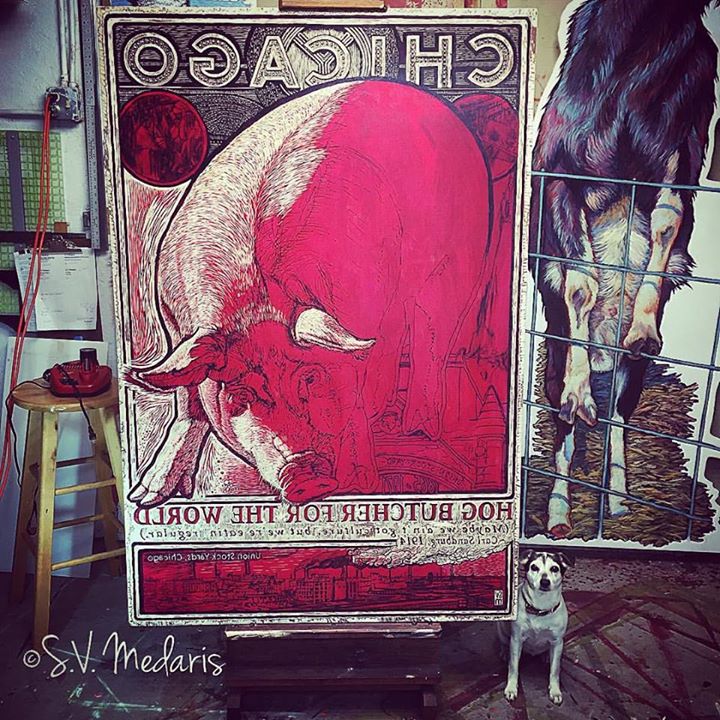
And on the 8th day it’s done!
Zuzu for scale:
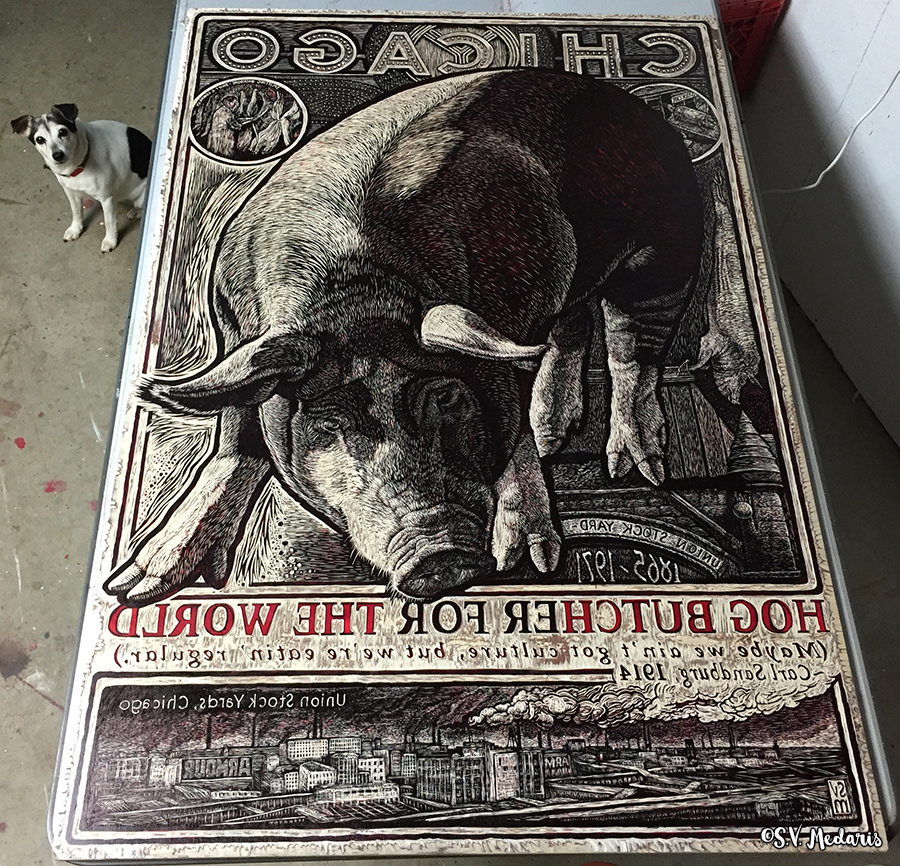
Little Zuzu makes that block look pretty big, doesn’t she? 60″ high x 40″ wide.
Ready to drive down to Chicago and print:
Next, printing at Hoofprint Workshop. Go to their online shop to see finished print and information on purchasing.


Hello Sue! I am a big fan of your prints and have been enjoying your blog posts for all the tips and info on woodcut printmaking ( I am a printmaker too). Your block set up steps are really helpful and I was wondering what is your preferred stain and sealer on the blocks now that you’ve done so many? I am setting up a 36×48 piece of Shina now and want to get it perfect before the carving starts.
My mentor is Daniel Jasa, he told me he has sharpened your tools! Small word!
Many thanks and warm regards,
Chris Darr
Hi Chris, so sorry for not responding before now! I use shellac or polyurethane. Hope this helps, and sorry for not getting back to you till now. I haven’t been keeping up my blogs or sites due to too much work. Hopefully that’ll change soon. Take care, sue